Selective Color Correction
This script does a selective color correction already known from other image processing software such as Affinity Photo or Photoshop. Use this script on a starless image or use a star mask to protect the stars (not used in the preview)!
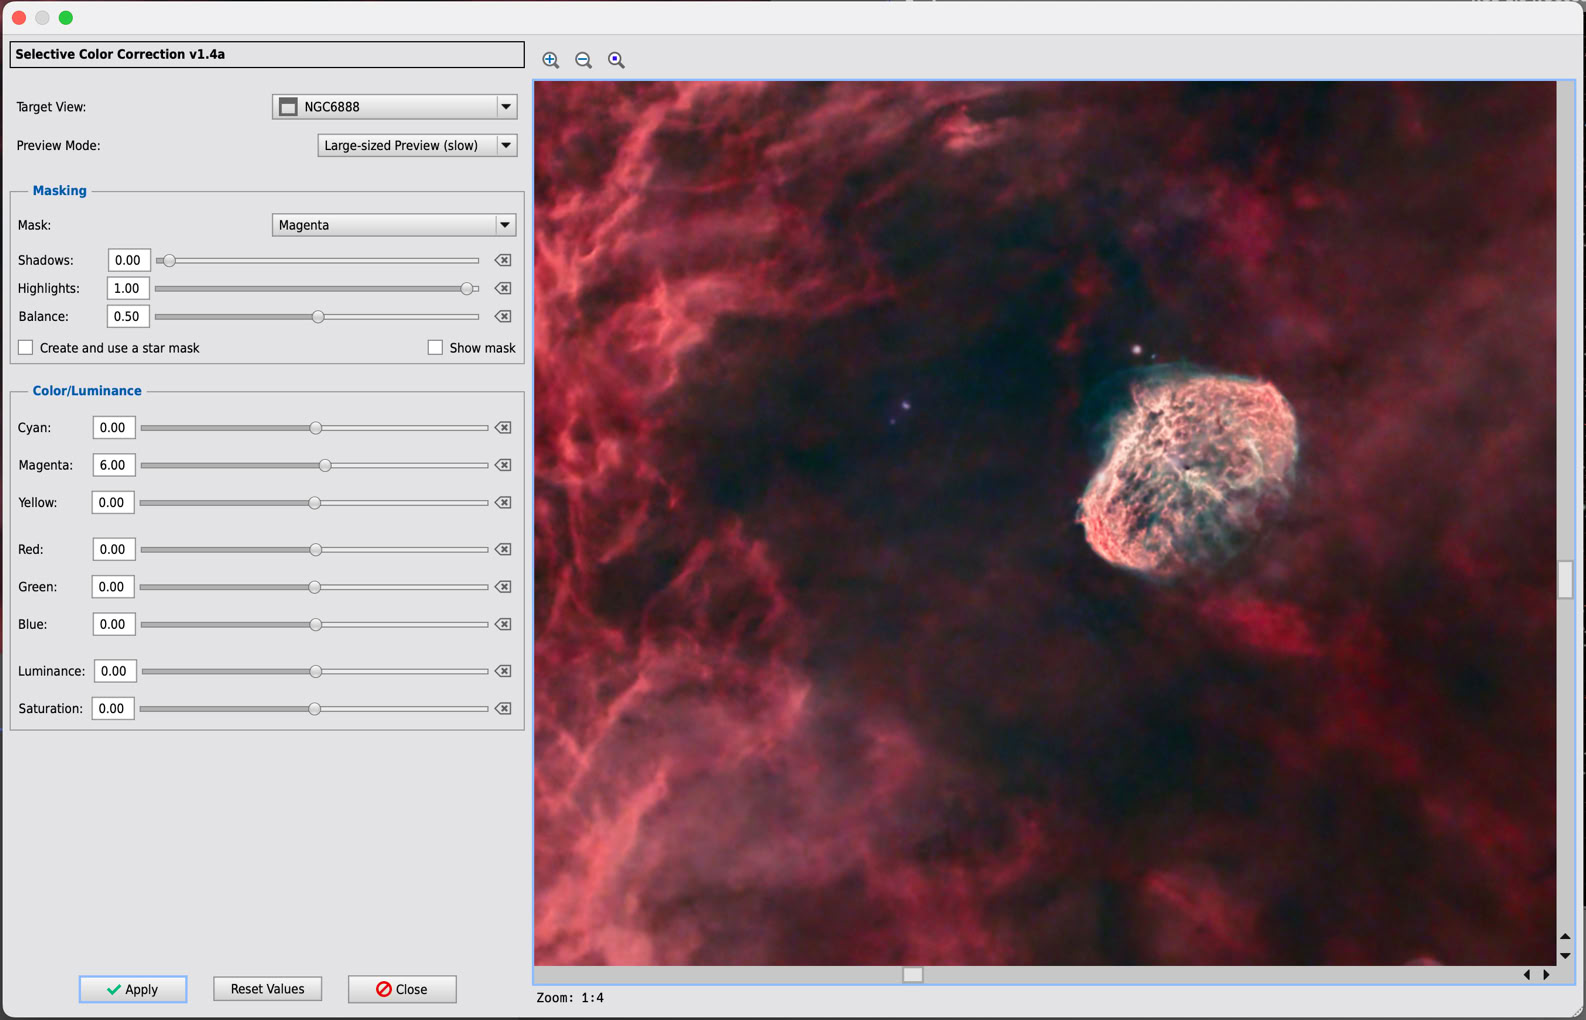
Select the target image view to be processed. Choose the color shade as „Red“, „Green“, „Blue“, „Cyan“, „Magenta“, „Yellow“ or one of luminance ranges such as „Shadows“, „Midtones“ or „Highlights“ or just the entire luminance. This selection defines a filter mask for the parts of the image to be affected. „Red“ will create a red color mask and will only affect the red tones, „Midtones“ will only affect all midtones and so on.
Now you can change the contribution of „Cyan“, „Magenta“ and „Yellow“ in these tones given in percentage of the tones. You can also change the luminance in percentage for these tones. „Cyan“ will change the blue-green contribution, „Magenta“ changes the red-blue contribution and „Yellow“ changes the red-green contribution. You can increase or decrease these contributions.
In the Masking section you can also manipulate the created mask. Check „Show mask“ to see the mask. Increase „Shadows“ slider to increase the black point, decrease the „Highlights“ slider to reduce the highlights in the mask. Using the „Balance“ slider the mask can be brighten more in the Shadows (left) or more in the highlights (right).
You will immediately see your changes in a smaller preview window. Click on „Apply“ to apply your changes in your image. Click „Reset Values“ to reset the sliders to their default contribution of 0%. Finally, click on „Close“ to close the dialog and the preview. Keep in mind, that only „Apply“ will apply your changes.